Kindness


Every once in awhile, an opportunity to teach kindness and empathy just shows up on your path of life. The other day we were walking to the art cottage, and we noticed a butterfly that was caught up in a spider’s web. So we stopped, and I asked the kids what we should do. They all agreed that we should try to get it free from the web. But before we did that, I asked what they thought they would feel like if they were the butterfly. Would it be scary for big humans to come along if you were as little as a butterfly? Would you think the humans were going to hurt you or help you? We talked about how sometimes it is scary to be a helper because you might hurt the butterfly by tugging it out of the web. Once we got the butterfly out and brushed off the sticky web, the butterfly let us all have a turn with it sitting on our fingers! It felt like the butterfly was saying “thank you” for saving its life.

Abstract art in ek


We are starting off the year with some fabulous art on our classroom windows! In art class this week the students talked about the artist Piet Mondrian. He used the three primary colors (red, yellow, and blue)  and vertical and horizontal lines in the modern art he created. Our art teacher, Mrs. Guay, helped the students create a collaborative piece that she hung up on our windows in our classroom.     

Special author visit


Today we had a very good friend of mine visit. Michelle Madrid-Branch and her daughter, Eviana wrote a book! It is called “Coco & Olive, The Color of Love” and it is about adoption and the beauty of diversity in families. We had the privilege of being one of the first people to read this book.  

Since we have been learning about the parts of books all year, we talked about the parts of this book. We loved hearing about the dedication page, since we just made our dedication page for our end of the year book.


The beautiful title page:


The kids loved hearing about their favorite colors and how they tie into the story. Michelle is such a kind person and a great reader!


It was such a joy to have Michelle visit our class! We want to thank Michelle and Eviana for writing such a special book and for sharing it with us.

Special visitors!


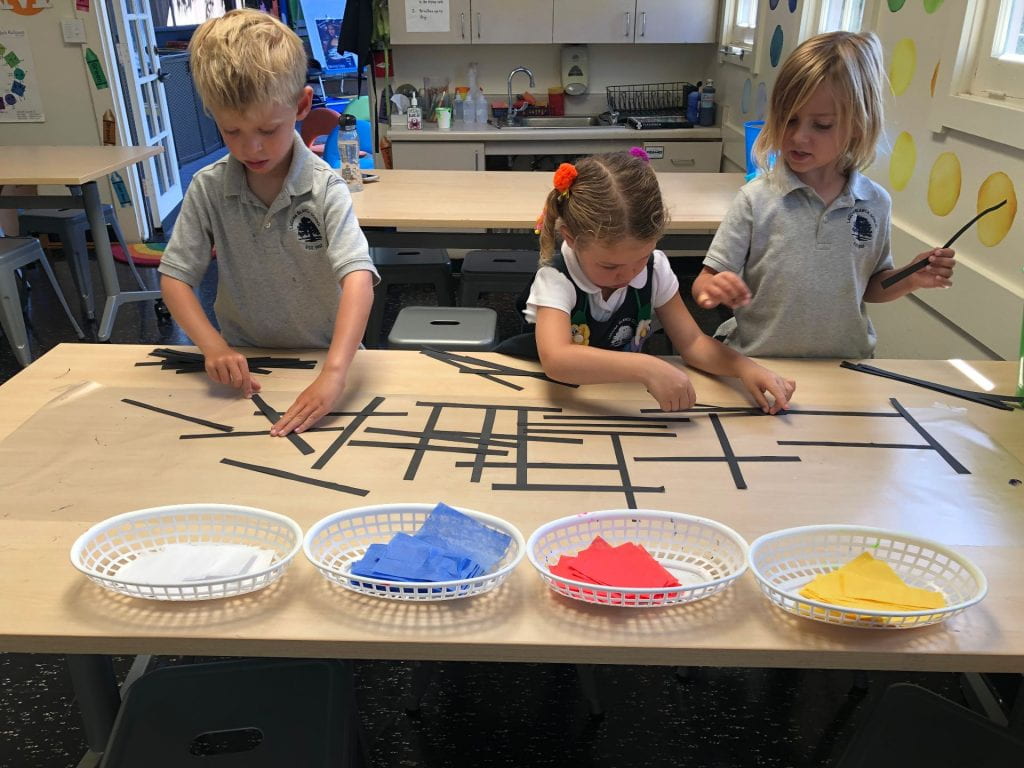
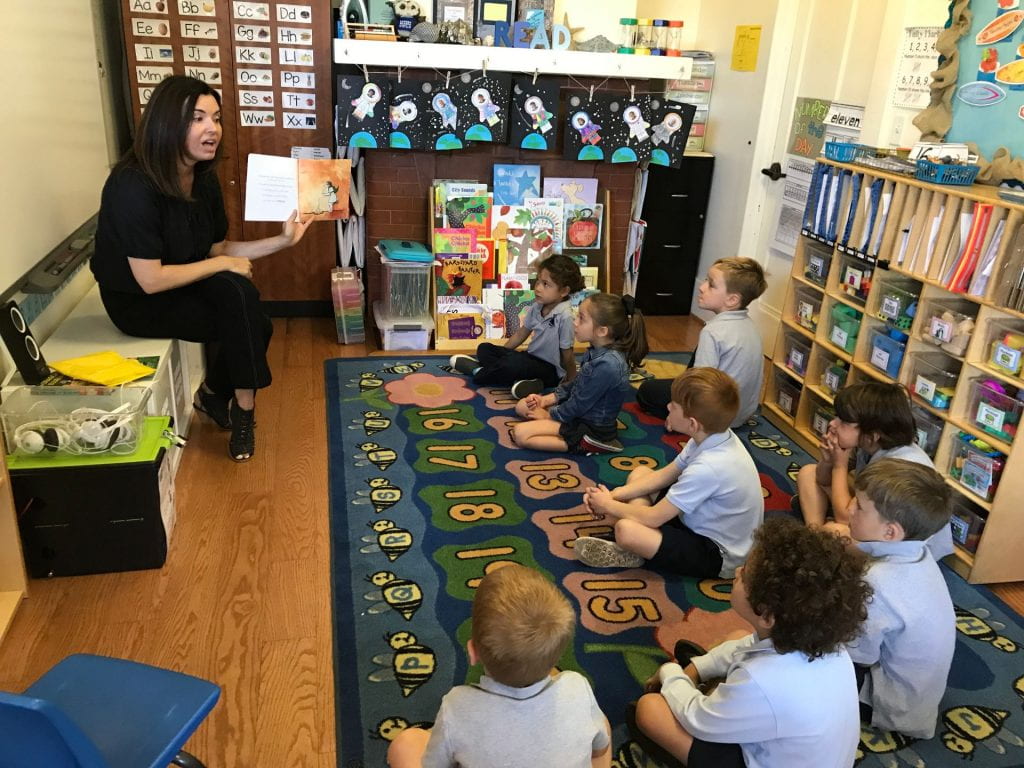
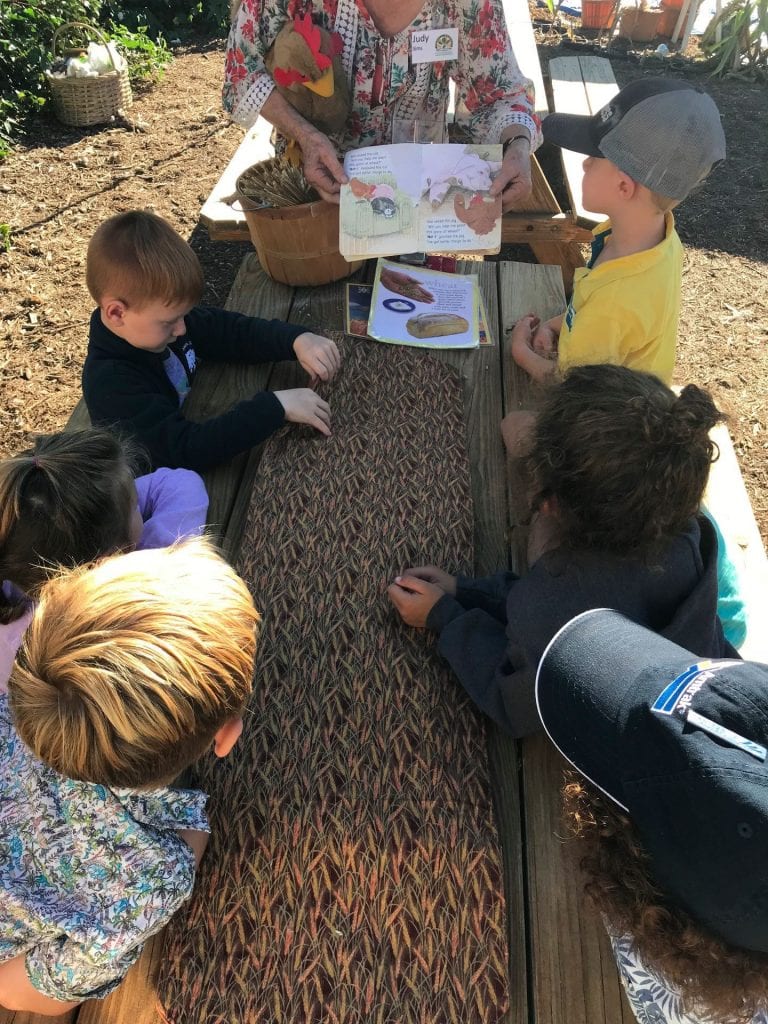
We had some very special visitors come to our class on Thursday afternoon. River’s grandparents joined us to talk about a very unique hobby they both enjoy (and we got to enjoy the sweet outcome!).

Harvesting maple sap to make maple syrup!

I am honored to have the Markstrums contribute to this blog post:

Making Maple Syrup

Maple syrup is made in the northern zones of the country where it is cold, and snow remains on the ground through most of the winter. In the spring when temperatures begin to rise above freezing during the day, maple trees start to wake up, and the sap begins to flow. Usually, this occurs in late February through March and into April. Ideal conditions are snow on the ground with daytime temperatures above 32 degrees and nighttime temps below freezing.

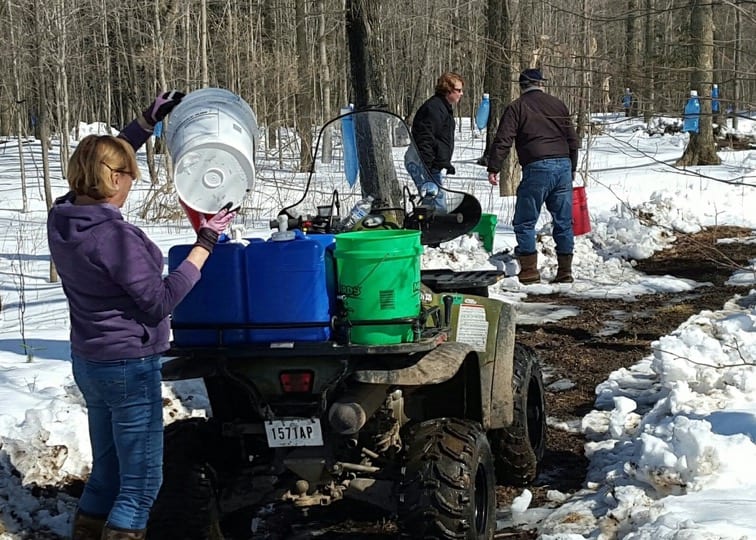
To collect the sap a small hole is drilled about 2 inches into the tree, a metal spout is gently tapped into the hole, and a pail or plastic sack is hung on the spout to catch the sap. Depending on how active the trees are the sap is collected every two or three days. Early in the season sugar content is high, so it takes on average 40 gallons of sap to make one gallon of syrup. Later in the season, the sugar content goes down so it may take almost 50 gallons to make one gallon of syrup. We used about 900 gallons of sap to make 19 gallons of syrup. Once the trees begin to sprout leaves, the sap becomes discolored and the season is done.

Most small producers like us boil the sap down in a metal pan over a wood fire and finish it in a kettle on the kitchen stove. Larger producers use big evaporation units and make thousands of gallons that are sold commercially. You have to cook it until the sugar content is at least 66.5% but not higher than 67.5%. Too low the syrup will be thin and watery and above that the syrup will be too thick and the sugar begins to form crystals. As the syrup is close to being finished, it is measured with a hydrometer to assure the sugar content is correct and ready to bottle.

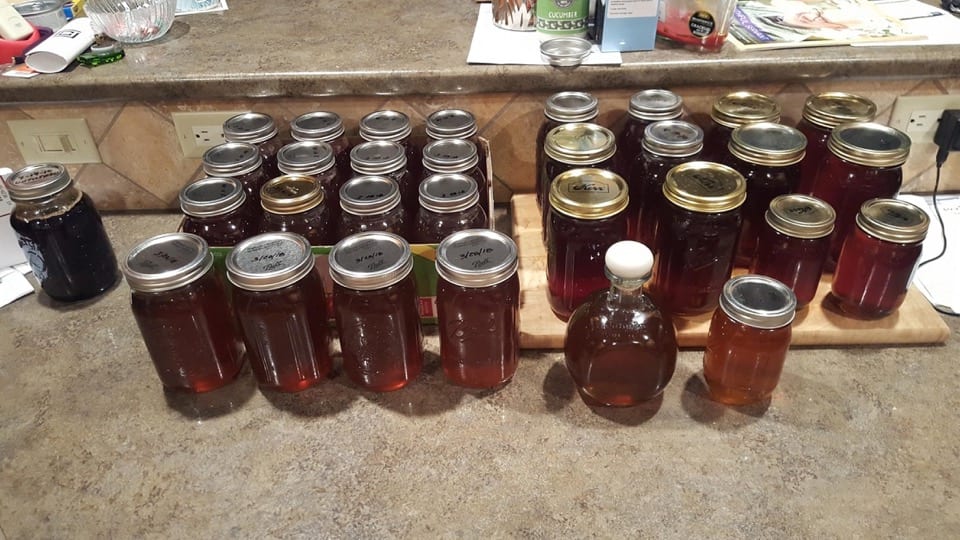
Once it is ready to bottle, the boiling syrup is poured through felt or filters to remove the fine sugar sand from the syrup. The hot syrup is then poured in sterile jars, capped and allowed to cool. The sealed jars can be stored at room temperatures on the shelf for a long time. Once the jars are opened the remaining syrup should then be refrigerated.


Snowman Glyph activity


We are talking about weather this month, so I thought it would be fun to do this Glyph activity by Primary Paradise.

Glyphs are a way for students to show information and practice following directions!

The students first talk about their favorite things about winter.


We ask the questions in the gliph and the students circle their answers. Then the fun begins! We make our basic snowman, then we get to decorate the snowman with the things that coordinate with the gliph answers.


We finish up by coloring our scarfs and hats.

Shape Turkeys


Today we talked about shapes. A fun way we used to reinforce the attributes of the different shapes was to make turkeys out of some simple shapes. We talked about the difference sides of the rectangle and compared them to the sides of a square. We also got to practice writing our numbers 5 and 3.

Our Safety tips…


October can be filled with lots of Pumpkins and Halloween fun. It is always nice to break that up with some tips to keep us safe, and our EK students came up with some good ideas!

We read the book Officer Buckle and Gloria by Peggy Rathmann to help us get some ideas of some good safety tips.

After we came up with some wonderful safety tips, we made our first “directed drawing” project. A directed drawing is a great tool to help in learning how to follow directions. While all of the Officer Buckle faces look a little different, the kids had to follow some of the same directions. For example, the first direction is to make the eyes then they can outline the eyes with circles or squares to make the glasses. Then the nose could be a circle or square or raindrop shape. They also choose to add a mouth, or not! I love that each one has a different look.

A day at the garden


Today we got to spend some time at Trinity Gardens learning about things that grow!


The Little Red Hen is a story about a hen who wants to make bread. We got to pound the seeds out of the wheat and then grind it into flour.

Next stop was to learn about how some seeds grow. We put the flower in our hands and rubbed them together. Tiny black seeds were left when we opened our hands.

Next it was time to pick out a pumpkin!


Then it was snack time! We picked kale to add to a smoothie that we all got to try.


Book fair!


One of my absolute, favorite memories from my Kindergarten year (many, MANY years ago) was when my oldest brother, who was probably in 3rd or 4th grade, came to my classroom to walk me down to the book fair being held in the gymnasium. While my brother held my $2 allowance (darn inflation), I looked for one or two special books. I remember wanting EVERY book! I have no idea what book I picked, but I do remember walking back into my classroom and feeling so special that I got to pick out a book that was just for me. To this day, I still get that feeling when I walk into a bookstore or book fair–don’t get me started with book orders (HOW can I pick just one?).

The EK class had the chance to browse the book fair offerings today. I’m sure they have lots of suggestions for you to buy! The proceeds from the book fair go right back into buying books and other learning experiences for our school library.

I hope you get the chance to come to the Laguna Blanca book fair this year! Ms. Brace will have the book fair open on Wednesday 10/3 and Thursday 10/4 from 2:30 – 4:00 in the back pavilion.

Fine motor/math centers


This week for math, the kids are working on counting to 10 while doing activities that strengthen their fine motor skills. It is very important to have a strong pincer grip to hold a pencil, crayon or marker the correct way.


Play-doh mats

*Play-doh is a great thing to use at home to build fine motor strength.*  The mats we have in the classroom encourage students to manipulate the dough into shapes to fit the objects on the mat.


Dominoes and Unifix cubes

In this center, students have to pick a domino, count the dots, then connect a stack of Unifix cubes to match. Pulling the cubes apart also helps with building that hand strength.


Number beads on binder rings

Each binder ring has a white bead that has a number (1-10). The students have to open the ring (harder than you might think!) and add colored beads to match the number. They then line the rings up in number order.


Feed the tennis ball monsters

Roll the dice to find out how many beads to feed your monster. This game is very fun, but also very challenging for EK kids. They are using one hand to squeeze the tennis ball to open the mouth, and the other hand to hold the tweezers to grab the beads.


All of these activities are challenging and fun for the EK kids. I encourage you to help your child work on fine motor skills at home when they are playing. Let them try to manipulate game pieces themselves before you step in to help.

Skip to toolbar